Install SafeSquid Secure Web Gateway using SafeSquid Appliance Builder
Problem
To set up your Secure Web Gateway appliance, you need to first install the Linux operating system on your provisioned hardware. Next, harden the system by implementing best security practices and partition the disks appropriately. Afterward, download and install all necessary dependency libraries and services. Lastly, install, configure, and deploy the Secure Web according to your organization’s environment. Even trials for Secure Web Gateways appliances require complex initial configuration, high technical expertise, and can be extremely time consuming.
SafeSquid Appliance Builder (SAB)
To reduce the complexity, and save time in setting up the Secure Web Gateway, use SafeSquid Appliance Builder (SAB). SAB is a security-enhanced Debian Linux ISO, customized for SafeSquid installation on any physical or virtual hardware within 15 minutes. SAB automatically configures dependent libraries, services, and custom partitioning. On booting from the SAB ISO, the OS is automatically installed, and SafeSquid SWG is downloaded and deployed with all necessary dependency libraries, and services.
Benefits
By automating the manual processes in the installation process, the risk of errors is reduced. Pre-configured settings ensure optimal performance and robust security. Furthermore, SafeSquid Appliance Builder incorporates security best practices in its setup process, providing a hardened system by default.
Preparation
The SafeSquid Web Gateway (SWG) deployment with SafeSquid Appliance Builder (SAB) supports all base platforms. You can directly install on any Intel server grade platform or any virtualization platform.
For Local Hardware
Prepare the bootable /img/SAB_Debian Remember to back up any important data from the storage /img/SAB_Debian to burn to. Use a reliable tool for burning the ISO to your chosen bootable /img/SAB_Debian, such as Rufus for USB drives or ImgBurn for CDs/DVDs.
Prepare your machine If the machine’s disk has a different OS installed, backup and format the disk before starting the SafeSquid installation. Then, connect the bootable /img/SAB_Debian to your machine. Restart your computer and enter the BIOS/UEFI settings to set the boot order as:
- Primary Boot Device: Hard disk.
- Secondary Boot Device: Bootable /img/SAB_Debian with SAB
For Virtual Infrastructure
SAB installation is compatible with both Type 1 and Type 2 hypervisors. For implementation on Type 2 hypervisors, such as VirtualBox®̥ or VMware®̥, establishing connectivity between the host and the Virtual Machine (VM) is mandatory. This can be achieved through two methods:
- Network Address Translation (NAT): Used when the VM operates behind the host, routing all network traffic through the host’s IP address.
- Bridged Adapter: Used to give the VM direct access to the network, bypassing the host’s IP. The VM receives a private IP address on the network.
Installation Steps (Debian)
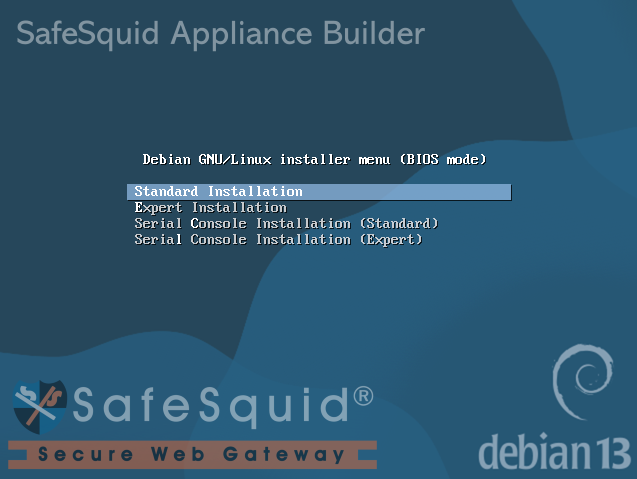
Step 1: Choose Installation Mode
Choose from four installation modes, as per your use cases.
Standard Installation Mode (Recommended): Quick and straightforward setup with pre-configured settings.
Step 2: Automate network configuration
Next, the installer will ask for autoconfiguring your network.
To automatically configure network settings via enterprise DHCP (Dynamic Host Configuration Protocol) service, select Yes.
To manually configure your network settings (for example: to assign a Static IP address), select No.

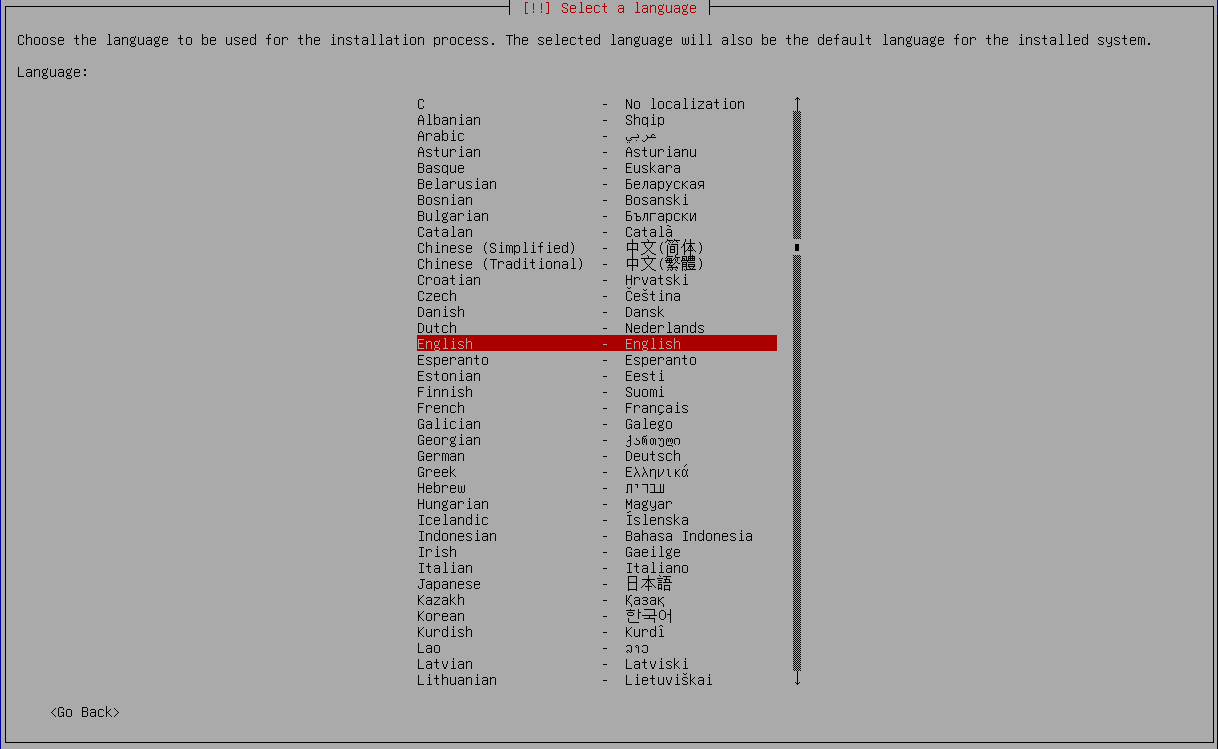
Step 3: Select language
The language selected here will be used for installer and the system.
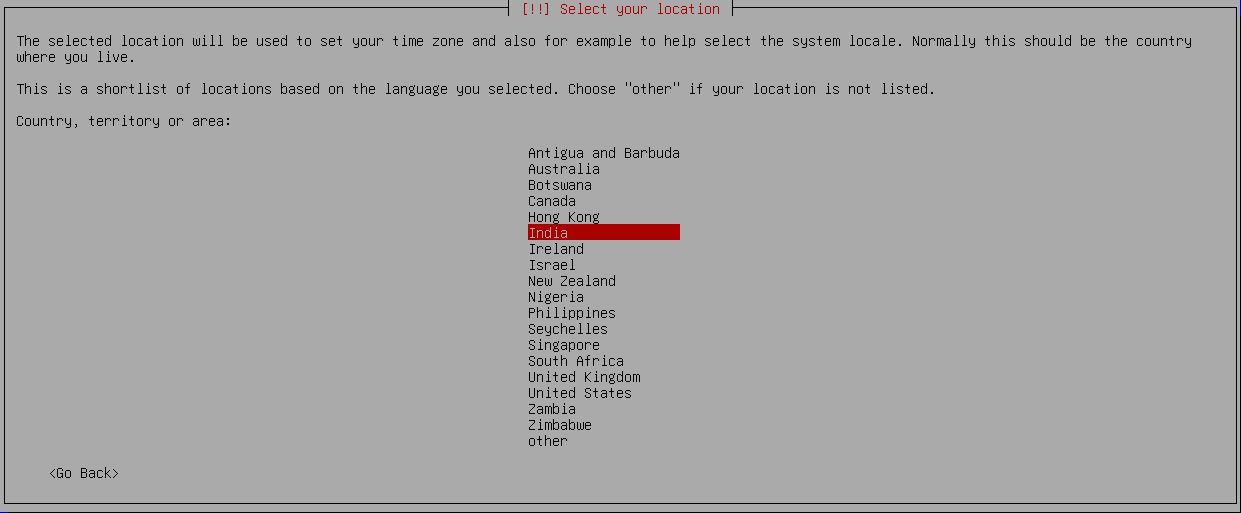
Step 4: Select your location
Carefully select the location of the system, as it will be used to set the time zone.
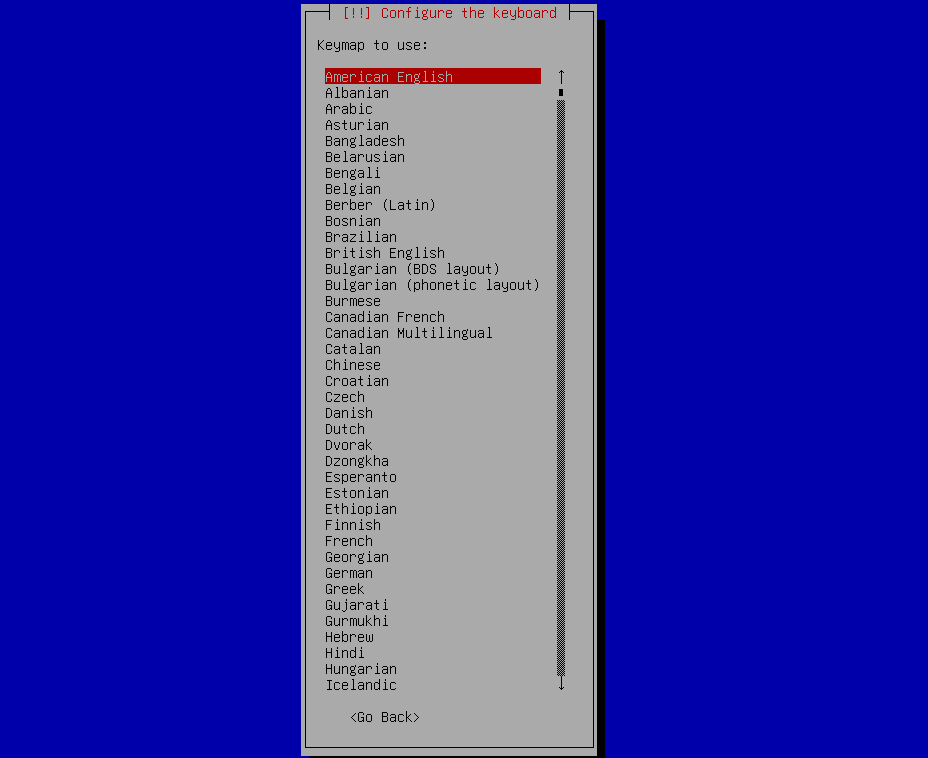
Step 5: Configure the Keyboard
Keyboard layouts are determined by the country of origin for the keyboard. Select the appropriate keyboard layout to avoid input issues, especially for non-standard keyboards.
Step 6: Assign Static IP address (Skip for DHCP)
Follow any existing IP address allocation policies or guidelines within the organization. Ensure that the IP address falls within the correct subnet range defined by the network and is unique within the network to avoid IP conflicts. For clarity and precision in network configuration, specify the subnet mask and network boundaries by appending the CIDR netmask.
Format: IP/subnet

Step 7: Specify Gateway
Enter the correct gateway IP address and verify that the gateway is reachable from the assigned SWG IP address. When the router is your primary device that forwards traffic from your local network to other networks, the router's IP will be your default gateway.

Step 8: Set Name Server IP / DNS
Use reliable primary and secondary DNS servers for redundancy and ensure DNS servers are correctly configured to resolve domain names properly.

Step 9: Assign Hostname
Set a meaningful hostname that fits into your network's naming convention. Carefully select the desired hostname, as proper assignment of the Fully Qualified Domain Name would be necessary for integration with other services, like AD.

Step 10: Assign Domain Name
Ensure that the domain name is unique and consistent with your organization's naming conventions and existing domain infrastructure. Verify that both forward and reverse DNS entries for the domain name is properly configured in your DNS servers to resolve to the correct IP address.

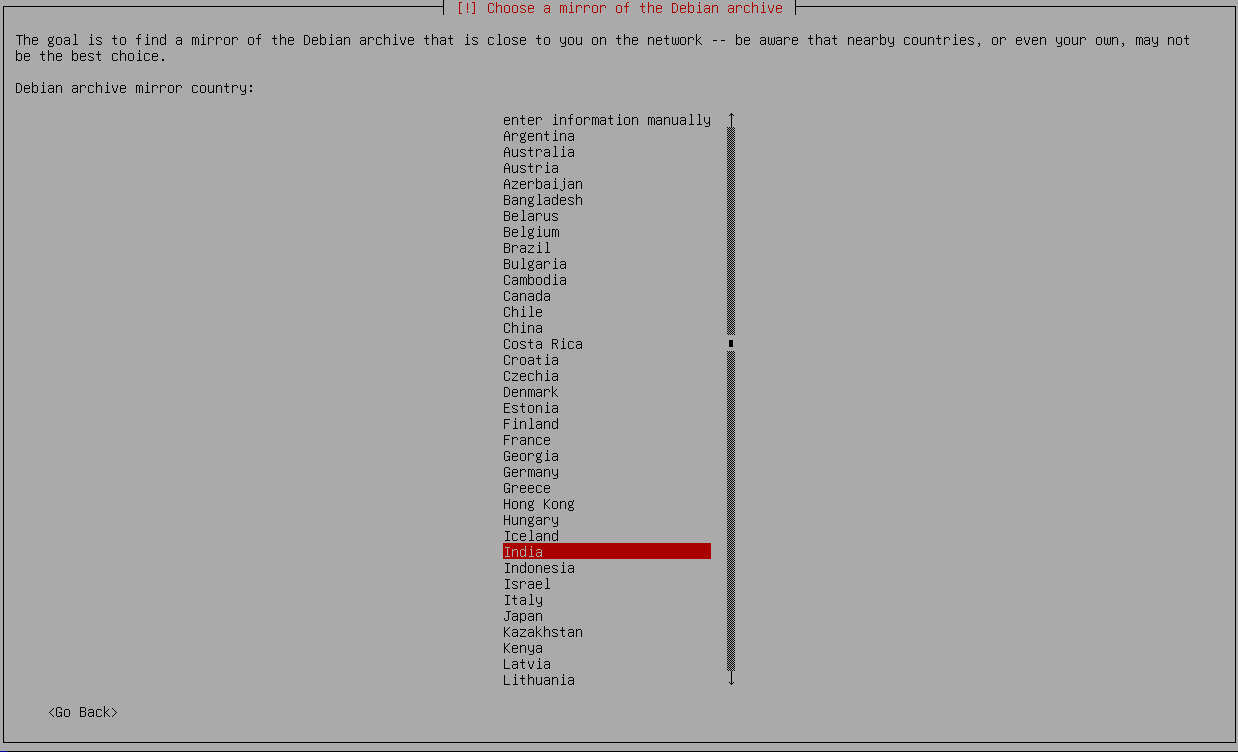
Step 11: Choose the mirror of the Debian archive
Select the Debian archive mirror country geographically closest to the server for the fastest download of required packages. Ensure the mirror has good network performance and bandwidth capabilities and is known for reliability and minimal downtime.
Step 12: HTTP Proxy Configuration
To adhere to any network policies your organization might have regarding external connections and data downloads, explicitly send the traffic via an HTTP proxy. Leave this blank if not required and press continue.

Step 13: SSH Client Connection
To Continue Installation use an SSH Client to connect to the IP Address.

Step 14: Setting Up partitions
Installation will proceed with partitioning process required for SafeSquid automatically.
If using a USB as the installation disk, unselect your USB drive from partitioning.
We want Disk partitioning in “/dev/sda” then click continue.

Step 15: Drive Selection for GRUB
Typically, this drive is the same as the installation disk.
Caution: The GRUB bootloader is essential for booting into the installed system. Installing GRUB on the wrong drive can render the system unbootable.
We want install Grub in “/dev/sda”, then click continue.

Step 16: Finishing installation
The final process of finishing the installation is the last step where the preseed file will be executed. It will take about 15 mins to install the requirements. In the end, the system will reboot itself and go through some system initialization.

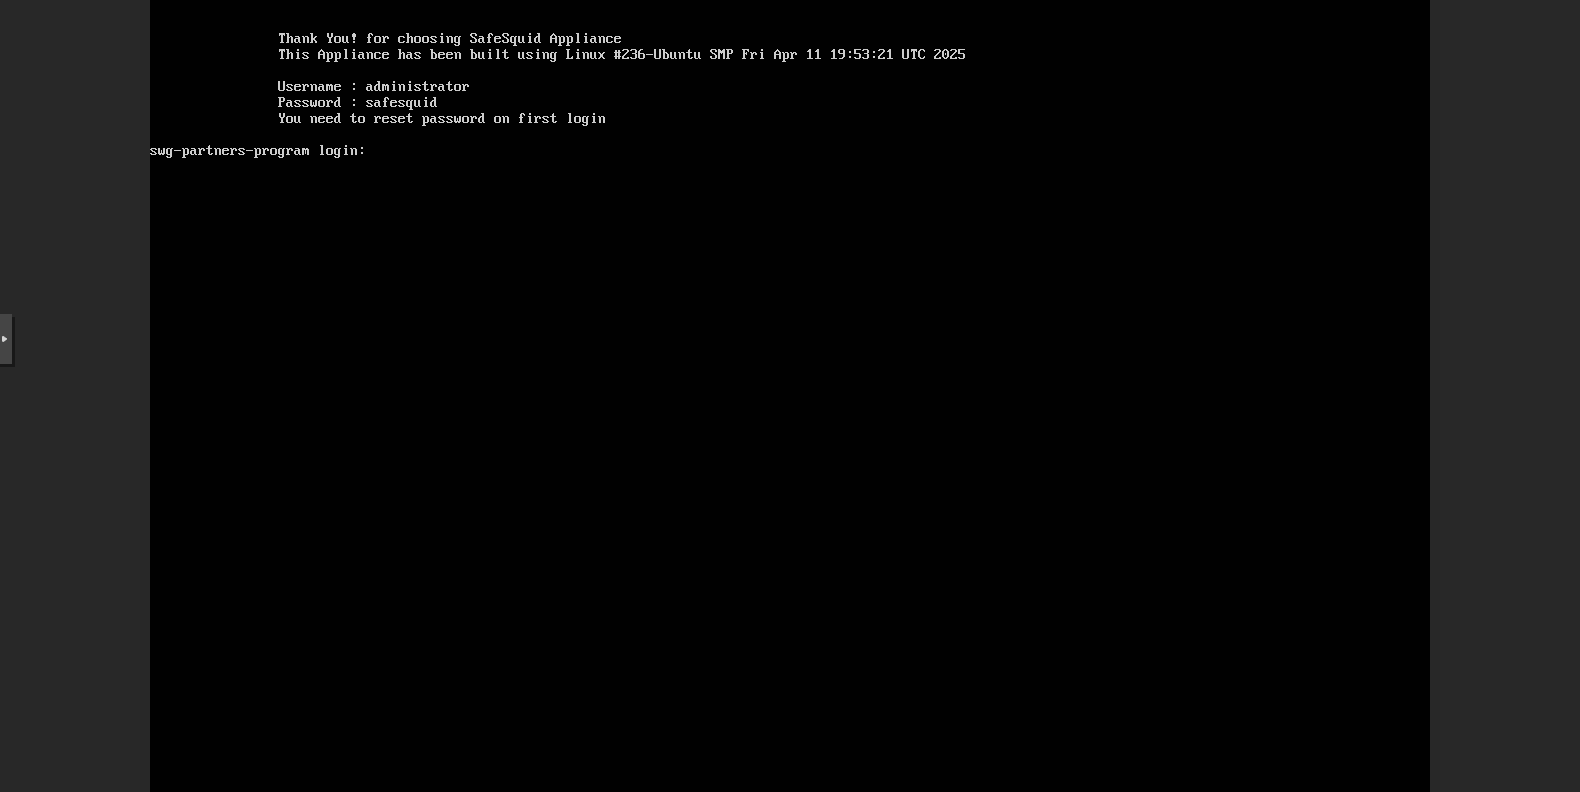
Step 17: Login to the Server After installation, this login page will appear. Use the default credentials:
- Username:
administrator - Password:
safesquid
You need to reset the password on the first login.
After login, re-enter the current password, then set and confirm a new password.
Post-Installation Checklist and Recommendations
- To access the product interface, SafeSquid® proxy server must be configured on the web-browser.
- The SafeSquid instance can now be activated from the product interface.
- Post activation, setup SSL Inspection and configure policies as per the enterprise’s requirements.
- Installing SafeSquid's certificate in your clients desktop.
- Configure your proxy server to setup SSH key based login.